HTML File Upload to a Static Host Without the Guesswork
HTML File Upload. Upload HTML files to a static host using drag-and-drop, fix entry-page problems, connect a custom domain, and avoid common deployment errors.
You've got a finished page sitting in a folder on your desktop. It opens fine when you double click it, the photos look right, and the buttons seem to work. What you don't have is a link you can send to a client, a teacher, or a friend.
That gap is where many readers stall. An HTML file upload isn't difficult, but it's more than moving one file. You need to keep the folder together, make sure the host opens the right page first, and check the live version as a visitor would see it.
Prepare Your HTML Folder for Upload
Say your project lives in a folder called my-site. Inside you've got index.html, an assets folder with a stylesheet, and an images folder with a portrait and a logo. Locally, it looks complete. Online, it doesn't exist yet.
Don't start by uploading. Start by looking. Open index.html in your browser and click through every link, button, and image. If something's broken on your own computer, uploading won't fix it. It'll only publish the problem.
Know What Kind of Project You've Got
A single self-contained file is different from a small website. A one page résumé might hold its styling inside the same HTML file, so that one file is the whole project. Most portfolios, class projects, and business pages aren't built that way. Their HTML points to separate CSS, images, and sometimes JavaScript, and those files have to travel together.
If you're unsure what counts as this kind of site, reading about what makes a website static helps you judge whether your folder fits before you upload it. The short version is simple. If your pages don't need a database or a login system to display, you're likely looking at a static project.
Practical rule: If you can open it from the folder and it looks right, upload the folder exactly as it is. Don't tidy it up at the last minute.
That last point matters more than people expect. Moving a stylesheet out of assets to make things look neater will break the path your page uses to find it. Rename nothing, move nothing, and delete nothing between your local check and your upload.
- Entry page present: Confirm index.html sits in the main folder, not buried inside another folder.
- Supporting files kept: Leave CSS, images, and scripts in their current subfolders.
- Local test done: Open the page, scroll it, and click the navigation before you go further.
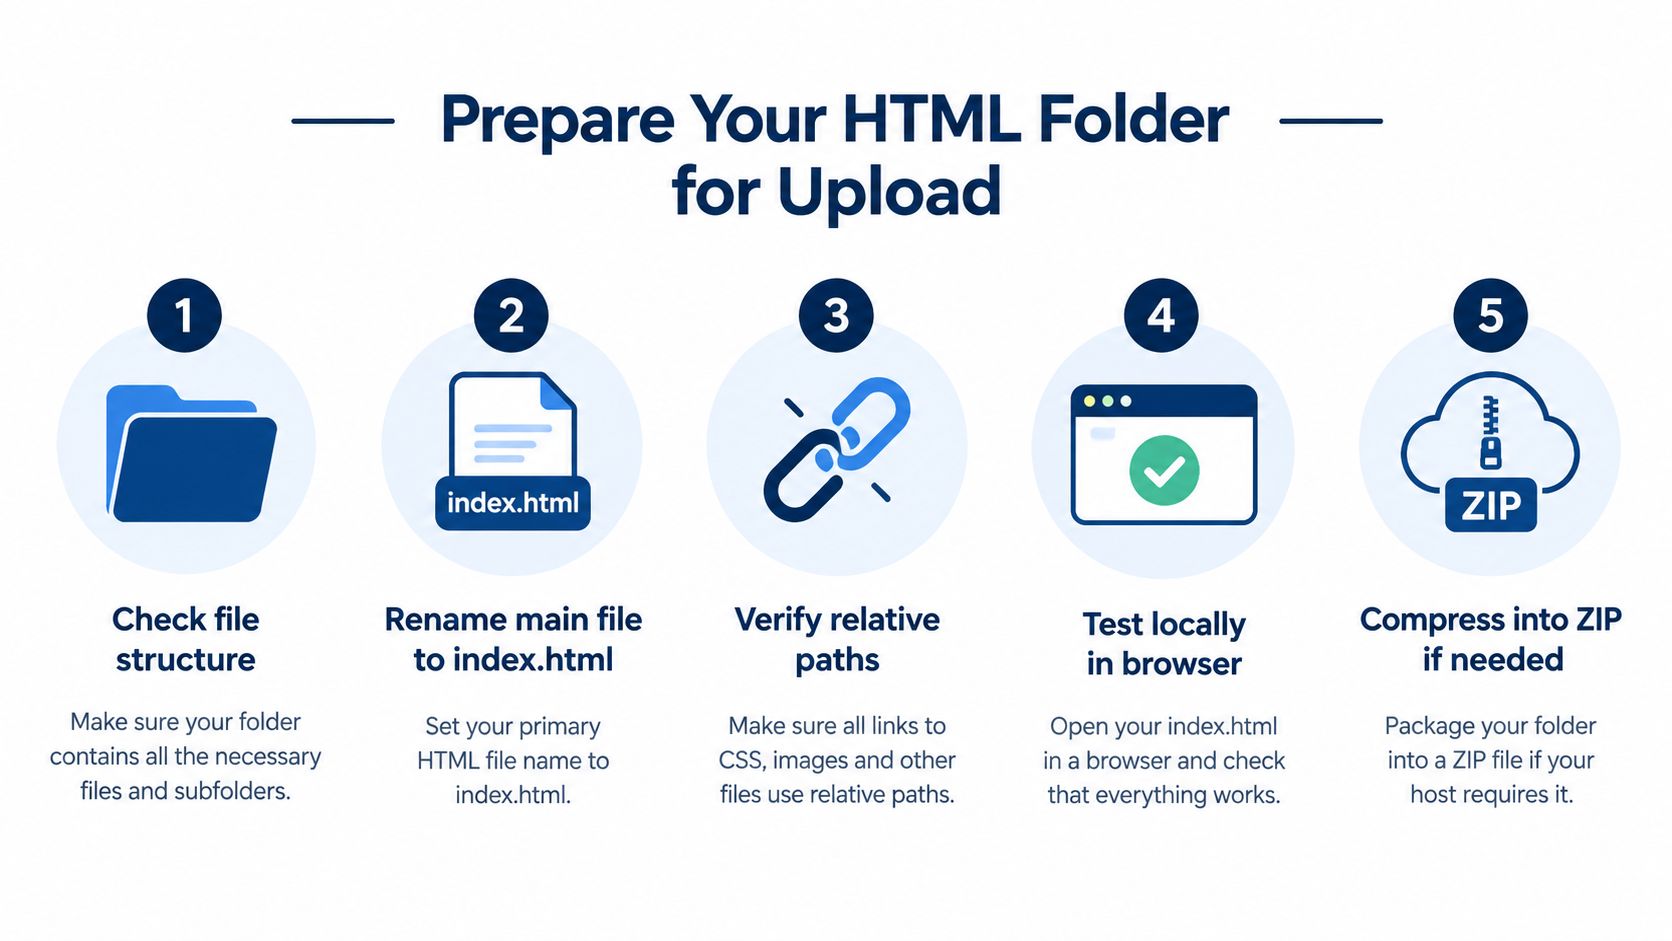
Once that check passes, your folder is ready. You haven't needed a build tool, a repository, or a single terminal command to get here.
Upload HTML Files with Drag and Drop
Open your hosting page and look for the drag and drop upload area. What you drop depends on what you prepared. Drop the whole my-site folder for a multi file site, a ZIP archive if the host asks for one, or a lone index.html if your page stands on its own.
The résumé and the portfolio show the difference clearly. The résumé travels as one file because everything lives inside it. The portfolio needs its CSS and images beside it, so dropping only its HTML would publish an unstyled page with empty picture frames.
What Happens After You Drop the Files
Selecting a file doesn't publish it. A browser doesn't make a chosen file publicly available on its own, since a file still has to be sent to a server through form submission or JavaScript after you pick it. That's why you still press an upload or submit control and wait for confirmation.
Underneath the friendly drop zone sits the standard browser control. The WHATWG HTML standard defines the file input as a list of zero or more files, each with a filename, type, and contents, normally sent using multipart/form-data encoding. You don't need to write any of that. Knowing it exists explains why the same basic upload works in every modern browser.
- Drop the complete project: Folder, ZIP, or single file, matching how your site is built.
- Wait for processing: Upfling scans the files, stages them for a safe release, detects the entry page, and allocates a URL, publishing in about twenty seconds through its free static site hosting flow.
- Copy the HTTPS link: Save it somewhere you can find it again, not just in an open tab.
- Open it fresh: Paste the link into a private browser window and view it as a stranger would.
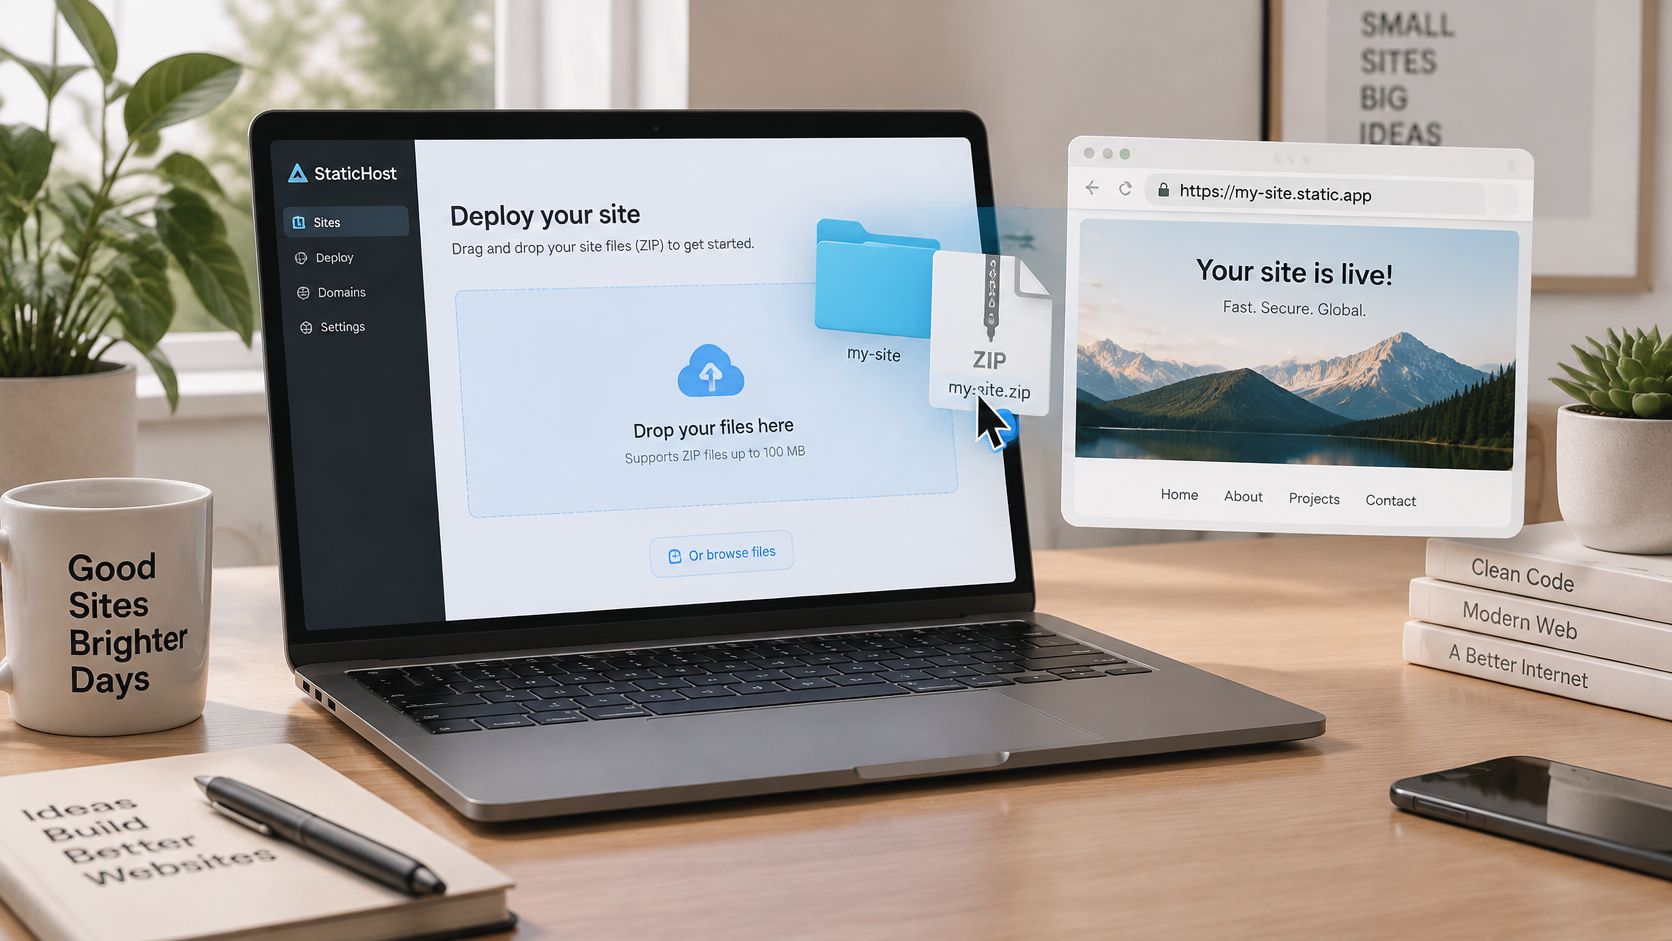
That private window check isn't paranoia. Your regular browser may still be showing you local files or a cached preview. A private window forces a clean look at what actually arrived on the server.
One more thing is worth checking while you're here. A good upload page shouldn't rely on dragging alone, because accessible file upload guidance calls for a visible label, clear format hints, and a non drag fallback. If dragging feels awkward with a trackpad, keyboard, or touch screen, look for a browse or choose files button and use that instead.
Choose the Right Entry Page
A host needs to know which page a visitor sees first. By convention, that page is index.html. When someone opens your site address without typing a filename, the host looks for that file and serves it as the front door.
Most of the time you won't have to think about this. Common folders, including many generated by AI tools, already place an index.html in the main folder, and the host detects it automatically during upload. Your job is to avoid renaming it to something like home.html or my-page.html beforehand.
When There's No Obvious Front Door
Trouble starts when a project holds several plausible pages and no clear default. Imagine a folder containing landing.html and portfolio.html, with nothing called index.html. The host can't guess which one you meant to lead with, so you may be asked to choose.
Make that decision based on the visitor, not the filename you like best. Ask which page explains who you are without any prior context. That's almost always the right entry page, and the other page can sit one click away in the navigation.
If a stranger landed on this page with no explanation, would they understand the site in ten seconds? If not, it isn't your entry page.
ZIP archives add one small trap. If you compress the my-site folder itself, the archive often contains that folder as an extra layer, so the resulting path becomes my-site/index.html rather than index.html at the top. Some hosts handle that extra layer for you, but it's worth knowing why an upload that looks identical to yesterday's suddenly opens on the wrong page.
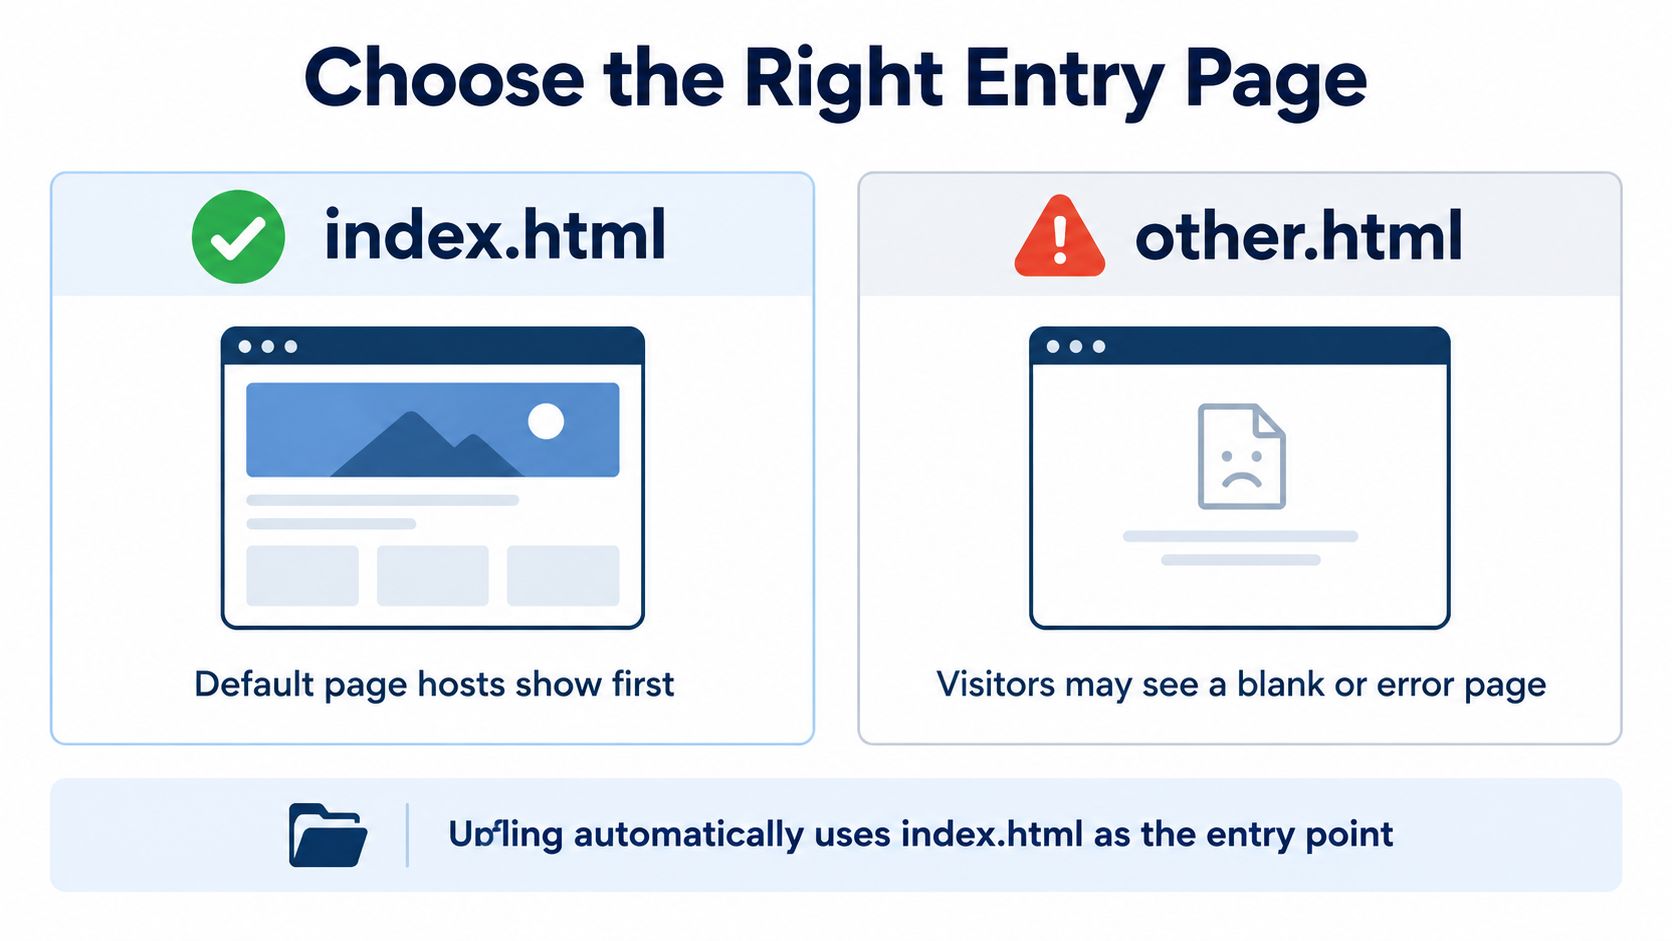
After uploading, open your bare site address with nothing after it. If the page you intended loads straight away, your entry page is set correctly. If you see a file list, a blank screen, or the wrong page, the entry choice is the first thing to revisit.
Keep Assets and Page Links Working
A page can upload successfully and still arrive broken. The usual sight is plain black text on a white background, with your fonts, colors, and layout gone. Nothing failed during the HTML file upload itself. The page just can't find its supporting files anymore.
Consider a typical setup. Your index.html references assets/style.css, which matches a stylesheet sitting inside the assets folder. Upload both together, keeping that structure, and the styling appears. Upload index.html alone, and the browser asks the server for a stylesheet that was never sent.
Use Paths That Survive the Move
Relative paths describe where a file sits compared with the page, like images/portrait.jpg. They keep working after upload because the relationship between files hasn't changed. A path pointing at a location on your own desktop can't survive, since visitors' browsers have no access to your computer.
| Path style | Example | Result after upload |
|---|---|---|
| Relative | images/portrait.jpg | Works if the folder travels intact |
| Desktop location | A folder path from your own computer | Breaks for every visitor |
| Mismatched case | Images/Portrait.JPG | Often breaks, even if it worked locally |
That last row catches people out. Your own computer may treat Portrait.jpg and portrait.jpg as the same file, while many servers treat them as different names. Keep capitalization in your page references identical to the actual filenames.
The most common mistake is still the simplest one. Someone drops index.html into the uploader and leaves the CSS, JavaScript, and images sitting on their computer. The upload reports success because the file it received was fine. The site is incomplete because the rest never left the desktop.
So decide which kind of upload you're doing before you start. An HTML only upload suits a self-contained page. A complete site upload means the folder, with every subfolder preserved, and a fresh tab check afterward to confirm styling, pictures, and navigation all survived the trip.
Connect a Custom Domain to the Host
Your site already works at its hosting address. A custom domain gives that same site a branded name, like a freelancer pointing portfolio.example.com at a hosted project instead of sending clients a generic link. The site doesn't move. Only the address changes.
Three parties are involved, and keeping their roles separate prevents most confusion. Your domain registrar is where you bought the name. DNS settings are the directions that tell browsers where that name should go. Your host supplies the destination those directions should point to, plus the SSL certificate that makes the address load securely over HTTPS.
Change One Thing at a Time
Start by writing down the exact destination your host gives you, before you open any settings page. Then go to your registrar, find the DNS area for your domain, and add what the host asked for. Don't add unrelated records while you're in there, and don't delete records you don't recognize, since some of them may be keeping your email working.
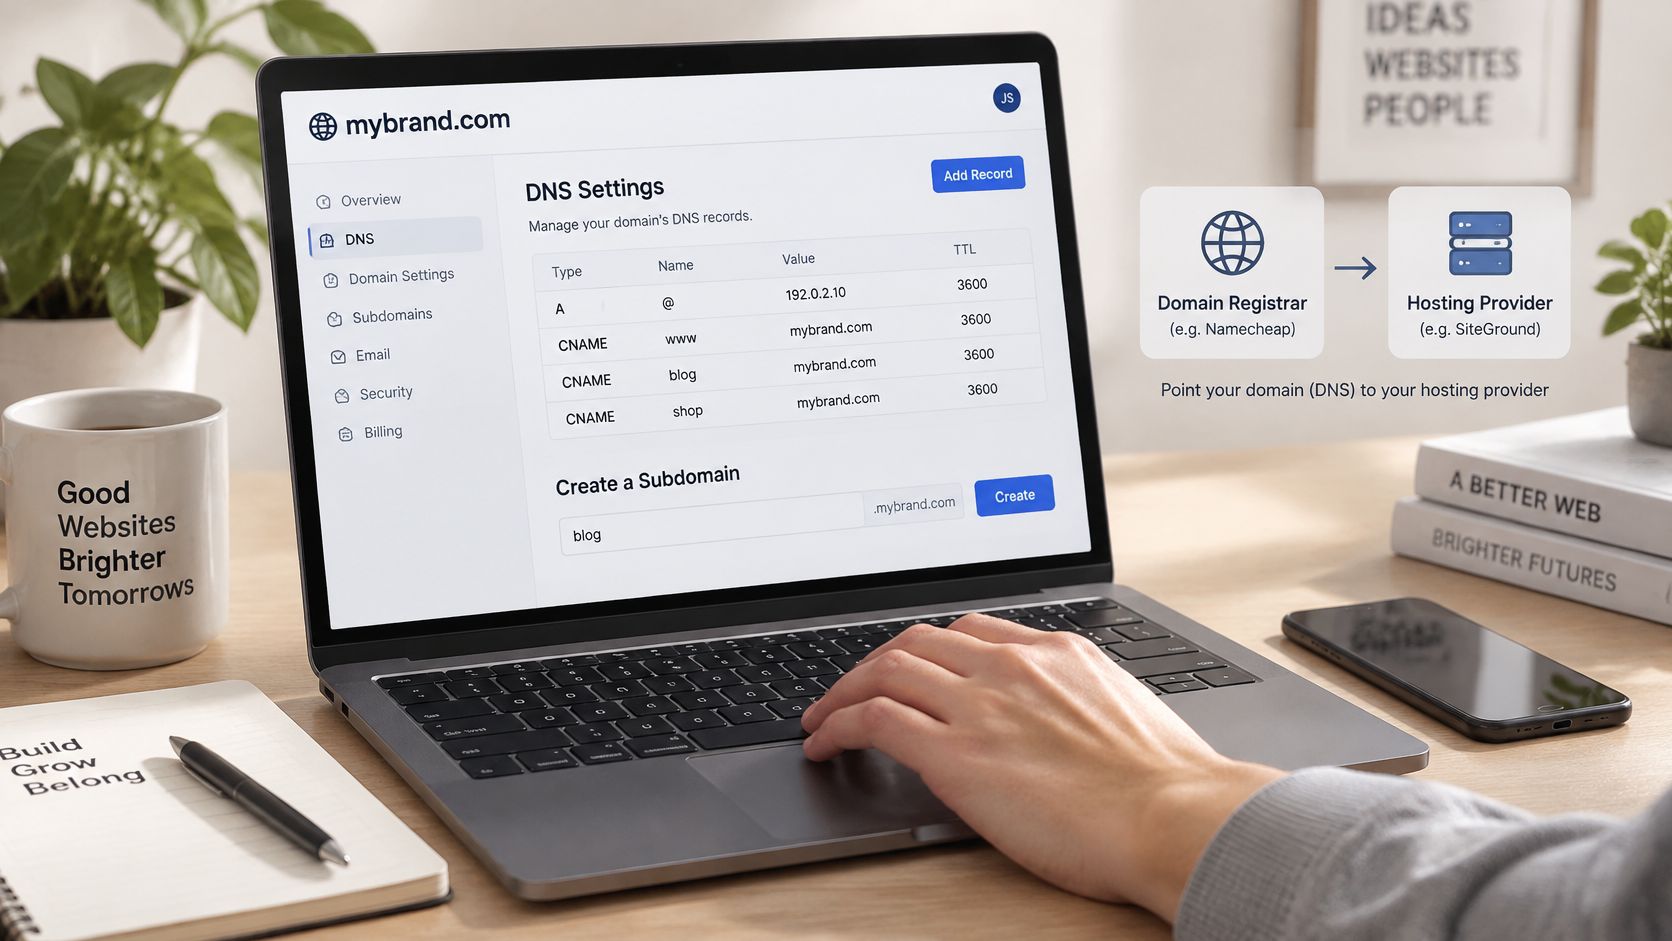
Expect a wait afterward. DNS changes spread across the internet gradually, so your new address may work on your phone before it works on your laptop. That delay doesn't mean you made a mistake, and repeatedly editing the records during the wait usually makes diagnosis harder.
- Record the destination first: Copy exactly what the host provides, character for character.
- Edit only what's asked: Leave every other record alone.
- Wait, then test: Try the domain in a private window and on a second device if you can.
- Check the padlock: Confirm the page loads over HTTPS once SSL is active.
Your host can provide clear DNS guidance and free SSL, but the final steps happen inside your domain provider's own screens, which vary. Success looks plain and reassuring. You type your domain, your intended entry page loads, and the browser shows a secure connection.
Fix Common HTML Upload Problems
Work from the symptom you can see, not from a guess about the cause. Almost every failed HTML file upload produces one of a handful of visible results, and each points to a small, specific fix. Change one thing, retest, and only then move on.
Match the Symptom to the Fix
| What you see | Likely cause | Smallest fix |
|---|---|---|
| Blank page | Wrong entry file or empty index.html | Confirm index.html is the intended page |
| Unstyled text | Missing CSS or a desktop path | Reupload the full folder with relative paths |
| 404 error | Renamed or moved file | Restore the original name and location |
| Old version showing | Browser cache after replacement | Hard refresh or open a private window |
A blank page usually means the host opened a file that isn't your real front page, or opened the right name in the wrong folder layer. An unstyled page is rarely a hosting failure, since it almost always traces back to a stylesheet that stayed behind or a path that only worked on your machine. A 404 means the browser asked for a name the server doesn't have, which happens when files get renamed for tidiness after the pages referencing them were written.
If your page looks unchanged after you replaced files, resist uploading again immediately. Open the address in a private window first. Before publishing a corrected version, you can also paste your markup into an online HTML tester to check whether the file itself renders as expected, which separates a code problem from an upload problem.
Why Scanning and Isolation Matter
Uploads carry a security side you shouldn't have to manage yourself, but you should know it exists. Accepting files from anyone is risky, because unrestricted file upload is classed as a high severity weakness under CWE-434, and one documented flaw of this kind affected more than 400,000 websites. That scale is why reputable hosts scan uploads instead of trusting them.
Archives deserve the same caution. A ZIP can contain path traversal tricks or expand far beyond its apparent size, which is why safe handling guidance recommends allowlisted types, size limits, generated filenames, and malware scanning before anything goes public. Serving your pages as static files, separated from anything executable, keeps your portfolio a document rather than an attack surface.
Calm sequence: Name the symptom, make the smallest matching change, then check in a private window. Repeat only if the symptom changes.
Publish and Update Without Breaking Links
The routine that got you live is the same one that keeps you live. Prepare the folder, test it locally, upload the complete project, confirm the entry page, inspect assets and navigation, then copy the HTTPS address. Connect a domain when you're ready, not before the site itself works.
Updates follow the same path with one difference. Instead of creating a new publication, replace the files in the existing one so the public URL stays the same. Clients, collaborators, and anyone who bookmarked your page keep using the link they already have, and you don't end up maintaining three versions of the same portfolio at three addresses.
After replacing, check the live page rather than trusting the success message. If the old version stares back at you, hard refresh or open a private window before assuming the replacement failed. Browsers hold onto familiar pages, and that habit causes more false alarms than actual upload errors.
You can verify three outcomes right now, without any technical tools.
- The live page loads: Your intended entry page opens from the bare site address.
- The assets are complete: Styling, images, and navigation all work in a private window.
- The domain resolves: Your custom address loads the same site securely over HTTPS.
When all three hold, you're done. You've turned a folder on a desktop into a stable address you can share, update, and trust not to change underneath the people using it.
Turn that tested folder into a live, shareable address by dropping it into Upfling, where uploads are scanned, entry pages are detected automatically, and every link gets free SSL in about twenty seconds. When you revise the site later, replace the files and keep the same URL, so clients never chase a dead link.